Welcome to the first Dev Diary for our forthcoming WWI DLC Battles for Ypres
by Robert Carver
This DLC covers six of the greatest battles fought on the Western Front between 1914 and 1918, and this dev diary introduces the first three: the mobile warfare surrounding First Ypres, the first gas attack in April 1915, and the devastating seizure of Messines Ridge in the spring of 1917.
The fighting around Ypres offers one of the clearest portraits of the Great War on the Western Front. For four years the front line here bent and bulged, but it rarely moved far. That stubborn geography is exactly why we built this DLC, as the fighting for the Ypres Salient compresses the progress of the whole war into a small area: demonstrating increasing firepower, developing tactics, and sustained endurance under constant pressure.
Our goal is straightforward: let players fight all five major battles around Ypres (1914–1918), plus one smaller but important campaign, on a single, carefully built battlefield, where the ground stays familiar but the war changes from campaign to campaign.
As a prelude to the 1917 Third Battle of Ypres, we include a smaller campaign for Messines Ridge. The main map scale is about 1.1 miles per hex, while Messines is about 0.34 miles per hex.
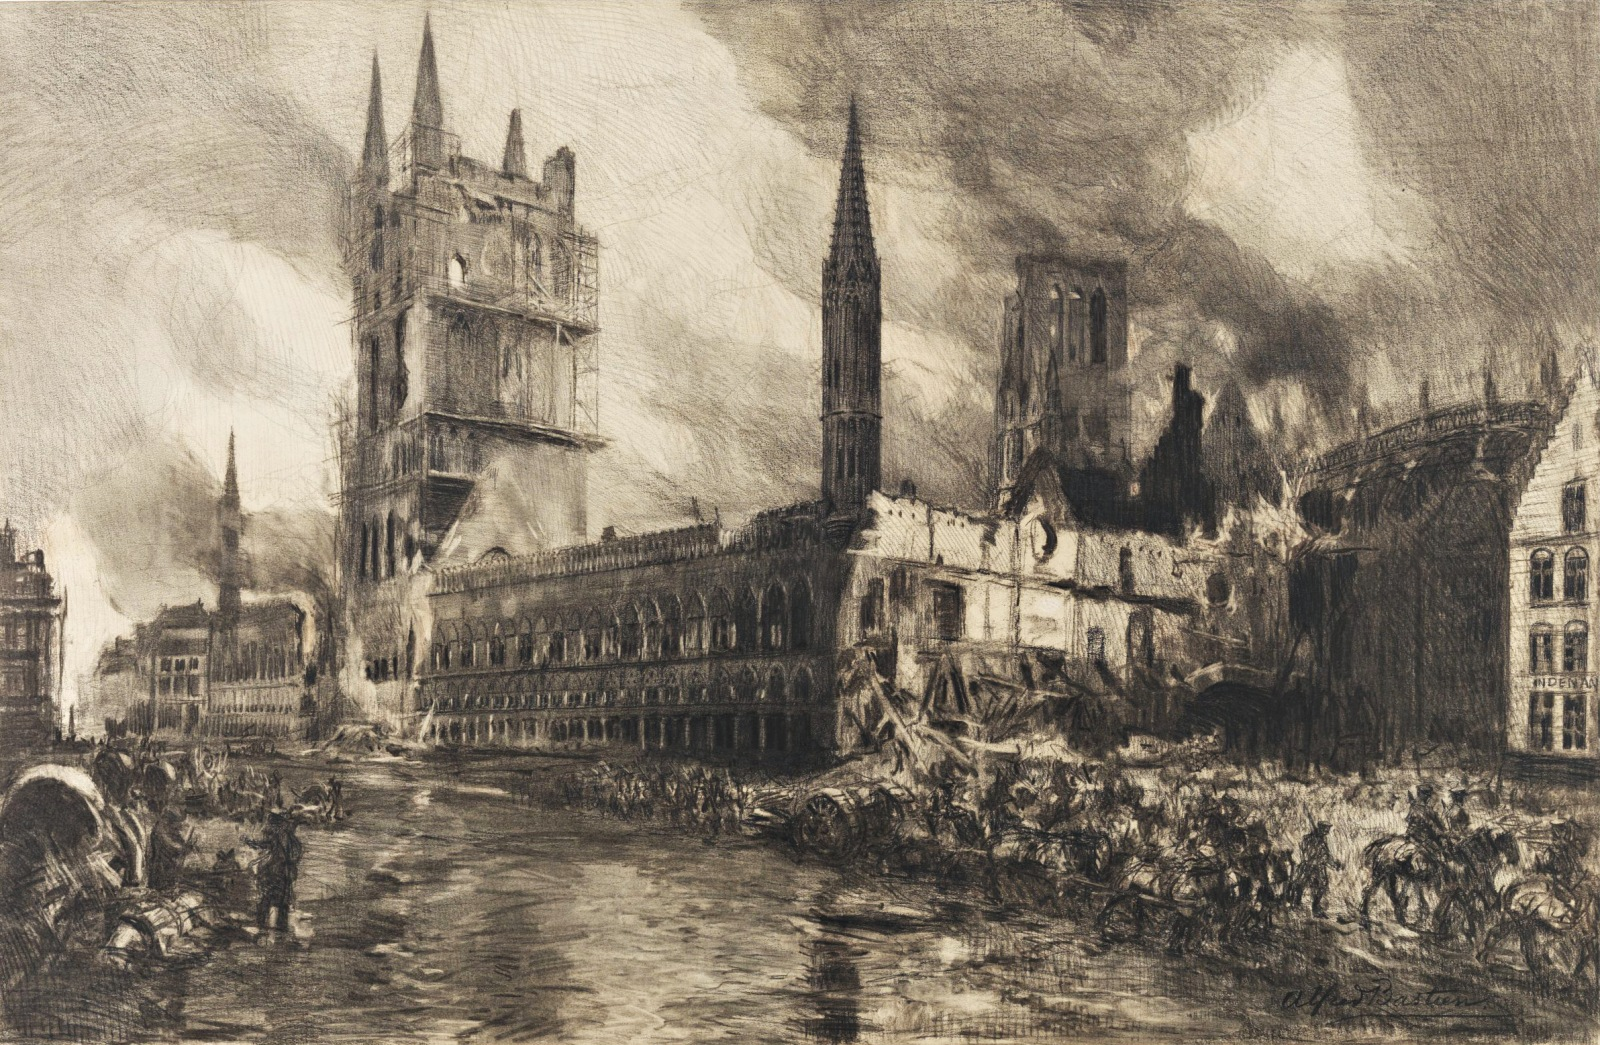
First Ypres (19 October – 22 November 1914)
The First Battle of Ypres ended the “Race to the Sea” and marked the beginning of entrenched warfare on the Western Front. It is remembered for the sacrifice of the British Army’s “Old Contemptibles,” the devastating losses suffered by German reserve student battalions, the crucial support of French forces, and the way it locked the front into the continuous trench system that defined the rest of the war.
We will recreate the First Battle of Ypres as a dramatic campaign where players experience the shifting tides and desperate struggles. The action begins with the German advance crashing into the British Expeditionary Force’s (BEF’s) IV Corps and the seasoned 7th Division, which are tasked with holding the line against overwhelming odds. On the flanks, the French IX Corps and the famed Fusiliers Marins anchor the north while the French XVI Corps braces in the south. The opening days will see the Germans at their strongest, driving relentlessly for a breakthrough and probing for weak points in the Allied defense.
As the pressure mounts, wave after wave of German assaults hammer the British center, threatening to tear it apart. The BEF, already stretched thin, begins to buckle under the strain. Just as collapse seems inevitable, French reinforcements begin to arrive, rushing into the line to seal the gaps both in the center and on the southern flank. The outcome hangs in the balance, and players will feel the knife’s edge between disaster and survival.
With the rains of November soaking the battlefield, maneuver gives way to sheer endurance. The BEF is reduced to a skeleton force, its once-proud professional ranks shattered. The French and Belgian lines are close to exhaustion, yet they refuse to yield. The Germans, relentless as ever, continue to press forward. In this final stage, the game shifts towards attrition, where supply, morale, and the will to fight are just as decisive as battlefield tactics.
Through these linked chapters of the battle, players will grapple with the same challenges faced by the commanders of 1914: when to commit reserves, where to launch a counterattack, how long to hold a crumbling line. The Germans must find a way to break through and seize key ground at Ypres and Gheluvelt, while the Allies struggle simply to endure.
Victory conditions are not expected to be easy for either side. This is a campaign where player decisions matter. The story of the “Old Contemptibles” and their French and Belgian allies will come to life in high paced, unrelenting action.
Cavalry
First Ypres is the only campaign where cavalry appears mounted. After that, cavalry still exists and often fights hard, but increasingly as dismounted infantry formations. The battlefield around Ypres simply does not allow cavalry to operate in its traditional role for long.
Artillery
In 1914 artillery is deadly but not fully integrated into an efficient combined-arms system. In later campaigns, however, artillery plays a more direct role in enabling infantry attacks by softening and weakening defending units before assaults go in.
Chemical Warfare
The 1915 Second Battle for Ypres opens with the signature terror of the Western Front: green-yellow clouds of chlorine gas drifting into Allied lines, causing panic and creating a sudden gap in the line that the Germans can exploit. Gas remains present in later campaigns, but as a tool that is integrated into artillery's increased capability.
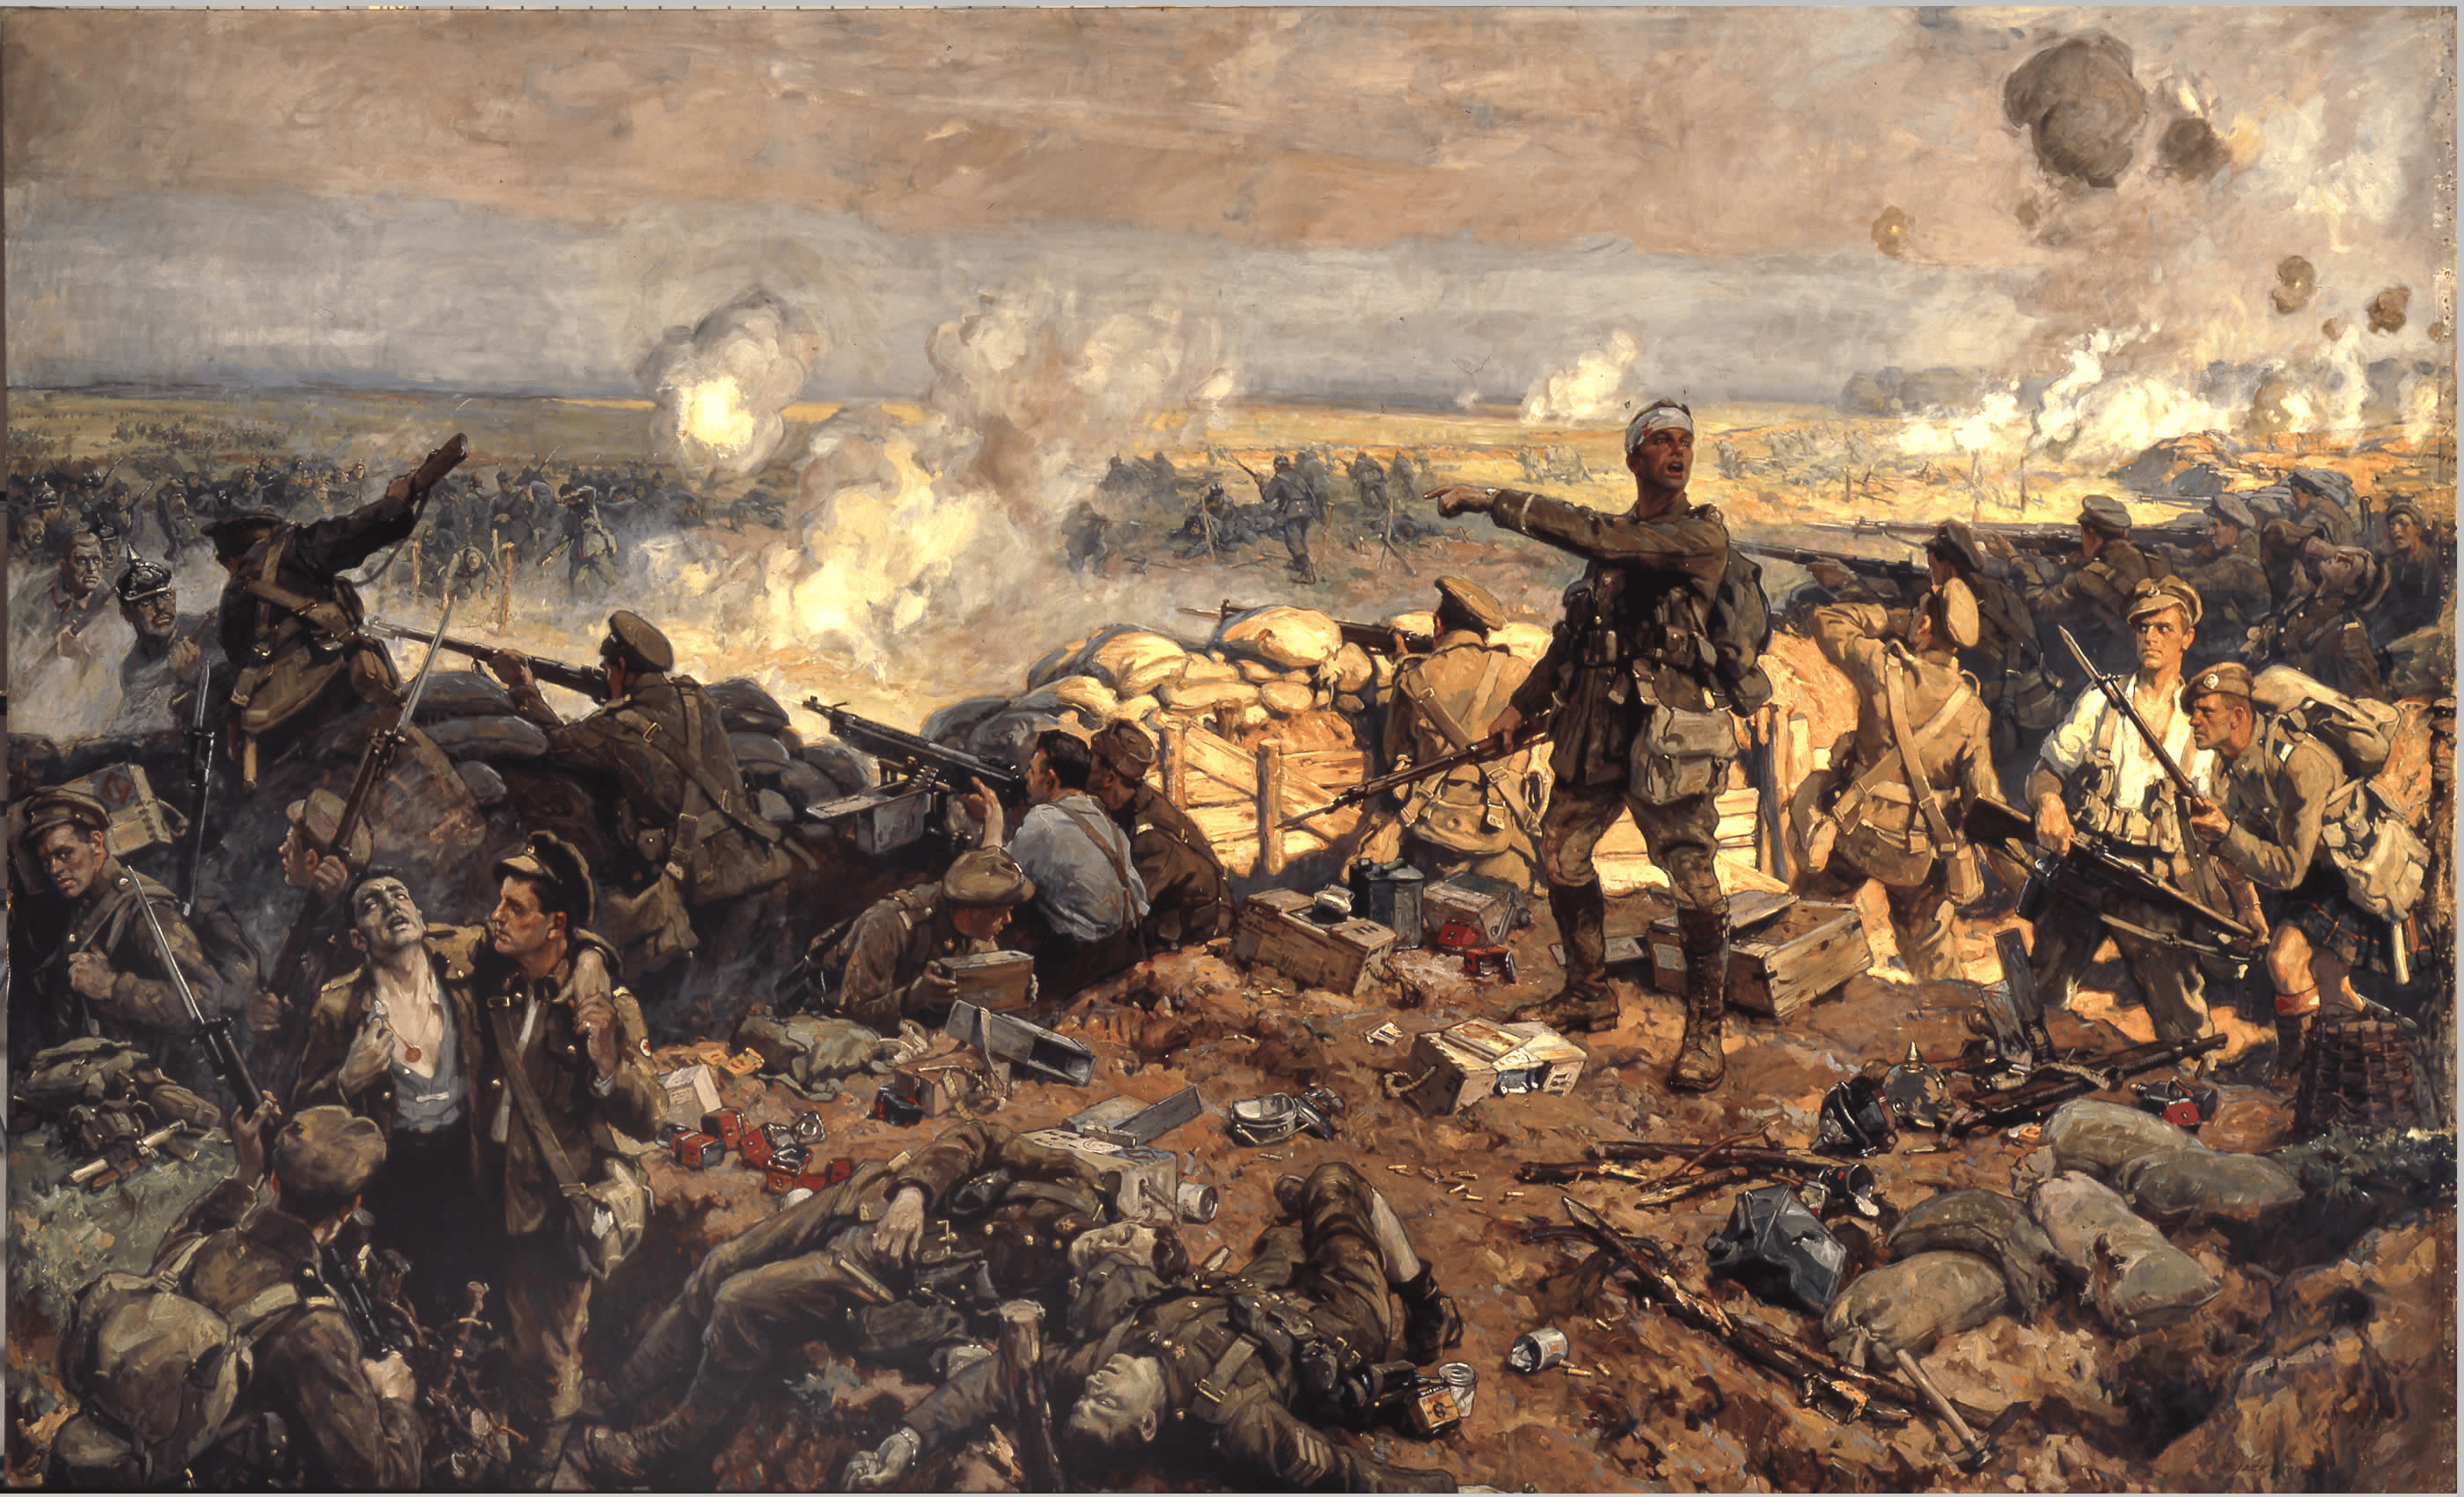
Second Ypres (22 April – 25 May 1915)
The Second Battle of Ypres stands out as one of the most notorious clashes of the Great War. It was the site of the first mass chemical attack, the heroic stand of the Canadians, and the Germans’ failure to turn the shock of their initial success into strategic victory. For players, this scenario will capture both the horror of new weapons and the razor’s edge decisions required to hold or break the line.
The battle begins with the German 4th Army unleashing chlorine gas on 22 April 1915 - gas being a weapon the world had never before seen used on such a scale. Our design models the devastation suffered by the French 45th (Algerian) and 87th Territorial Divisions, who collapse under the cloud, retreating and leaving a four-mile wide gap in the Allied line. German units surge forward into the breach, but they are constrained by a historical reality: they lack reserves and are unprepared to fully exploit their sudden success.
Just to the right of the French position lies the 1st Canadian Division. These troops represent the best chance for the Allied player to respond to the catastrophe. Forced to fight through gas and mounting casualties, the Canadians must attempt to close the gap at St. Julien and Gravenstafel Ridge, delaying the Germans long enough for reinforcements to arrive. A determined stand here can buy precious time for additional British Expeditionary Force units to arrive.
Once the initial shock passes, the battle may shift to the center of the Allied line. The Germans can refocus their efforts on Frezenberg Ridge, Bellewaarde Ridge, and Hooge, pounding the British 27th and 28th Divisions with plentiful artillery. In the game, players will see the elements of these British units reduced to fragments, struggling to hold on under constant pressure. As the fighting intensifies, the British 3rd Cavalry Division becomes available, but its commitment to the line is a desperate gamble - a chance to stabilize the defense at the risk of severe losses. The Germans will not hesitate to use gas again, but unlike what happened on day one, their opponents will not retreat en masse.
Victory conditions demand bold choices. To succeed, both sides must take significant risks and accept heavy casualties. The Germans must press their advantage ruthlessly, while the Allies must commit reserves and counterattacks at critical moments to prevent collapse.
This scenario delivers the full drama of the Second Battle of Ypres: the terror of the first gas attack, the desperate Canadian defense, and the grinding struggle for the ridges. It forces players to reckon with the same brutal calculus faced by the commanders of 1915 — risk annihilation to seize the initiative, or bleed slowly while holding a crumbling line.
Messines Ridge: Prelude to Third Ypres (7 - 14 June 1917)
No moment captures the engineered violence of the Western Front more clearly than Messines in 1917, and this is why we have made it a separate, smaller-scale campaign within the DLC.
The Battle of Messines Ridge served as a vital precursor to the Third Battle of Ypres. British planners sought to eliminate the German salient south of Ypres by capturing the high ground of the ridge, including the infamous Hill 60, which provided commanding views over Allied defenses and the approaches to the city. The operation showcased some of the most innovative trench warfare tactics of the war thus far, including the use of a creeping barrage that rolled forward ahead of the charging infantry.
The battle opened with one of the most extraordinary events of the war: the detonation of 19 underground mines, packed with a million tons of explosives. The blasts killed thousands of German defenders and devastated their front line, creating craters still visible today. It was one of the largest non-nuclear explosions in history, so powerful it was heard miles away in London.
In this scenario, the British player commands the II ANZAC Corps, X Corps, and IX Corps, drawing on divisions from Britain, Australia, and New Zealand. They must capitalize on the mining operation to seize the ridge quickly, then consolidate their gains, dig in, and repel inevitable counterattacks before pressing further east.
The German player, with the IX Reserve Corps and III Bavarian Corps, must hold firm and prepare Eingreif-style counterstrikes. If these counterattacks succeed before the British consolidate, the game ends instantly in a German victory. However, if the British can beat them off, they must then push further on in order to achieve their own victory conditions.
The Battle of Messines Ridge offers a rare opportunity to experience a decisive World War I victory. From the thunderous mine blasts to the relentless creeping barrage, this scenario captures both the shock and the precision of modern warfare in 1917.
Players will need to balance bold assaults with careful consolidation, experiment with stormtrooper-style counterattacks, and coordinate multinational armies fighting side by side. Messines Ridge was not just a battle — it was a glimpse of how the war might finally be won.
Our next Dev Diary will focus on the remaining three campaigns, which are the Third Ypres including the advance on Passchendaele, Germany's last attempt to seize Ypres in 1918, and the final advance of the Allies in the autumn of that year.


