Campaign
In 1940 Italy joined World War II on the Axis side. In the same year, an offensive was launched with an aim of defeating the British forces in Egypt. Disaster followed, with a British counterattack where Italian forces were defeated in detail and lost part of their Libyan colony. Germany hastily sent a small blocking force to prevent the loss of all of North Africa and it is here that the player enters!
The Campaign starts with first the German clashes with British and Commonwealth forces over the Cyrenaica region. The Campaign in North Africa was characterized by a high degree of motorization on both sides, leading to dynamic and mobile warfare. This feature is included in the game as well where you will need lots of trucks for your army to keep up with your tanks.
Another characteristic of war in the desert was its dire supply situation. Partly due to delivery across the sea, partly to distances on the ground and of course partly due to enemy action, there was never enough of it for all ambitions. Order of Battle’s supply mechanics shine in this respect and a variety of situations related to supply are a watchword of the Sandstorm Campaign.
Historically Axis forces were defeated and expelled from Africa, but many what-if speculations have arisen since. The Sandstorm Campaign will allow you to explore some of those what-ifs by exploring semi-historical situations without going too much into fiction. But most importantly, based on your success of achieving secondary objectives, the next scenarios could feature significant territorial and tactical changes.
Scenarios
Tobruk
Historical setting:
After the crushing defeat of the Italian army, Rommel arrived in Africa in February 1941. After his troops were unloaded they staged military parade in Tripoli and were immediately sent to front. They were followed by more troops via the same route.
Their task was to establish a defensive line at El Agheila and protect Tripolitania from further British advances. This proved to be unnecessary because the British had outrun their supply capacity and were diverted to Greece to counter incoming attacks there.
At the end of March, Rommel decided to launch probing attacks and since the British had insufficient strength remaining they ordered a retreat. This only motivated Rommel to push even harder disobeying orders and neglecting all supply difficulties.
In a very short time all of Cyrenaica was in Axis hands. All but one harbour - Tobruk.
Scenario description:
Immediately at start of campaign player can fill his core with German and Italian units.
The map itself provides for several routes of advance once the first line is breached and all require use of motorized transportation for Infantry. Your Supply dwindles with time and it is imperative to acquire your opponent’s supply bases in order to keep the offensive going.
Many historical events could repeat themselves, like the blowing of supply bases during the British retreat, capturing General O’Connor, Australian units moving towards Tobruk while the rear-guard is protecting their retreat. Additionally some things could go differently than the historical operation, like the capture of Tobruk.
Since the capture of Tobruk is a secondary objective and is a very challenging one to achieve, the player is allowed to fulfil their primary objectives first before proceeding to secondary ones.

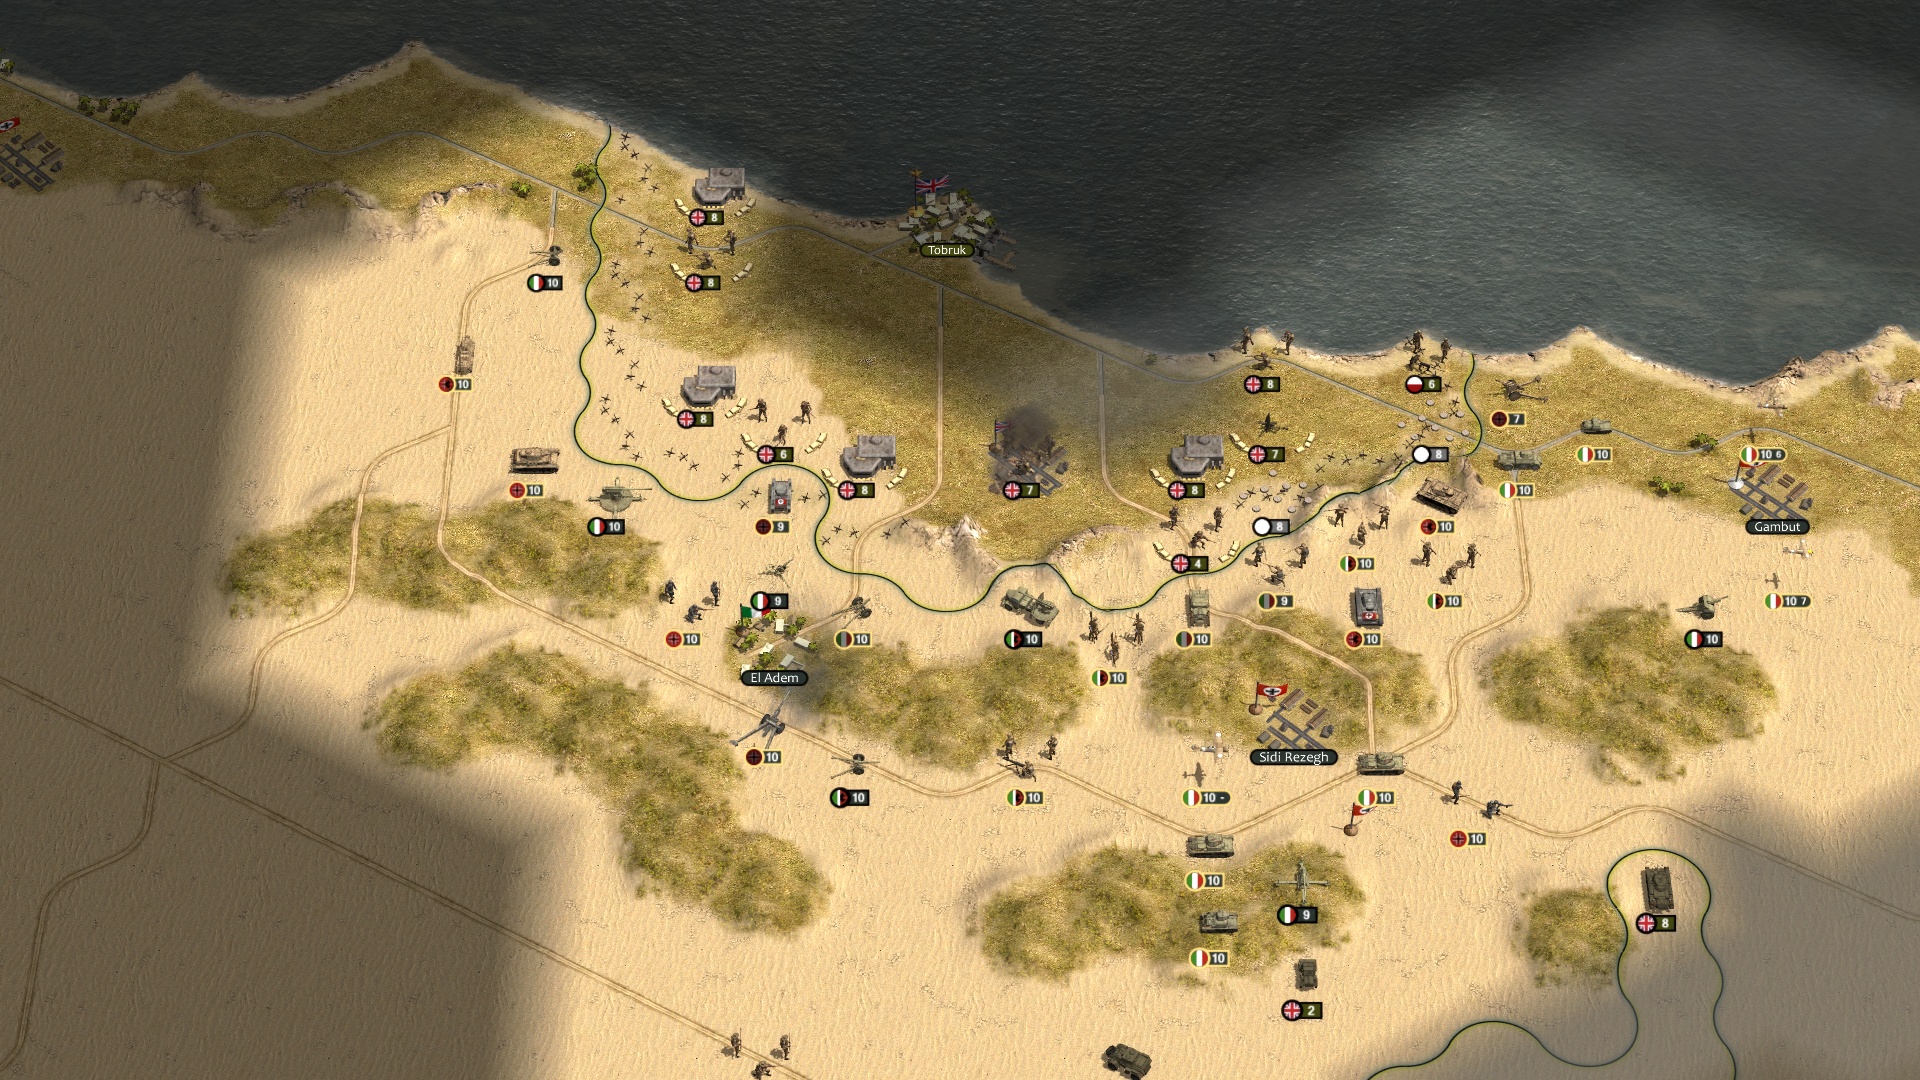
Crusader
Historical setting:
The British plan to relieve Tobruk was to send armoured groups through the desert with an aim to attract Axis armour and defeat it in one big tank battle. Their Infantry was to swing behind the frontier positions, seal it and continue down the road supported by slower infantry tanks. The Tobruk garrison was to break out when circumstances became favourable.
The Movement of the tank groups did not attract Axis armour because Rommel thought it was a faint and an Axis planned attack on Tobruk was just about to start. At this moment British separated their tanks into three columns. One going to Bir el Gubi, other one to Sidi Rezegh and the third one was kept in reserve. Soon enough the fiercest battles emerged around Sidi Rezegh and units from both sides were rushed there, creating a confusing battle with shifting frontlines and layers of enemy units running into each other.
Two things saved the British, Rommel’s idea to turn his armour into the British rear in an attempt to destroy their supply and the intervention of Commander-in-Chief Middle East to relieve the British commander and prevent the British units from retreating. New replacements were poured into battle and the British continued the battle at Sidi Rezegh whilst the Axis were driving deep into their rear.
The Battle of attrition went in favour of Allies, connection with Tobruk was established and Rommel ordered a retreat, leaving frontier garrisons to their fate.
Scenario description:
The player cannot be utterly defeated in this scenario. You can either crush the Allied forces and change history or, if the pressure becomes to strong, you can authorize a strategic withdrawal and fight another day at the Gazala line. This means that this is the spot where the campaign branches before it rejoins again in semi-historical invasion of Malta.
This scenario also has two variant setups depending on whether Tobruk was captured in the previous scenario. If Tobruk is already held by the Axis, then the Allies will not try to relieve it but just to recapture it. This brings different starting positions and a few tricky changes in strategy by the British.
The Scenario itself is intense and demanding with many areas to cover. Will you form a defence line in front of Allies or will you rush into their rear to destroy supply and hamper all of their army? If Allies establish connection to Tobruk, don’t worry, you will get a second chance to nullify their gains but in a tight time limit.
Do you want to feel that you are making an influence on the battlefield? Well this one is for you.
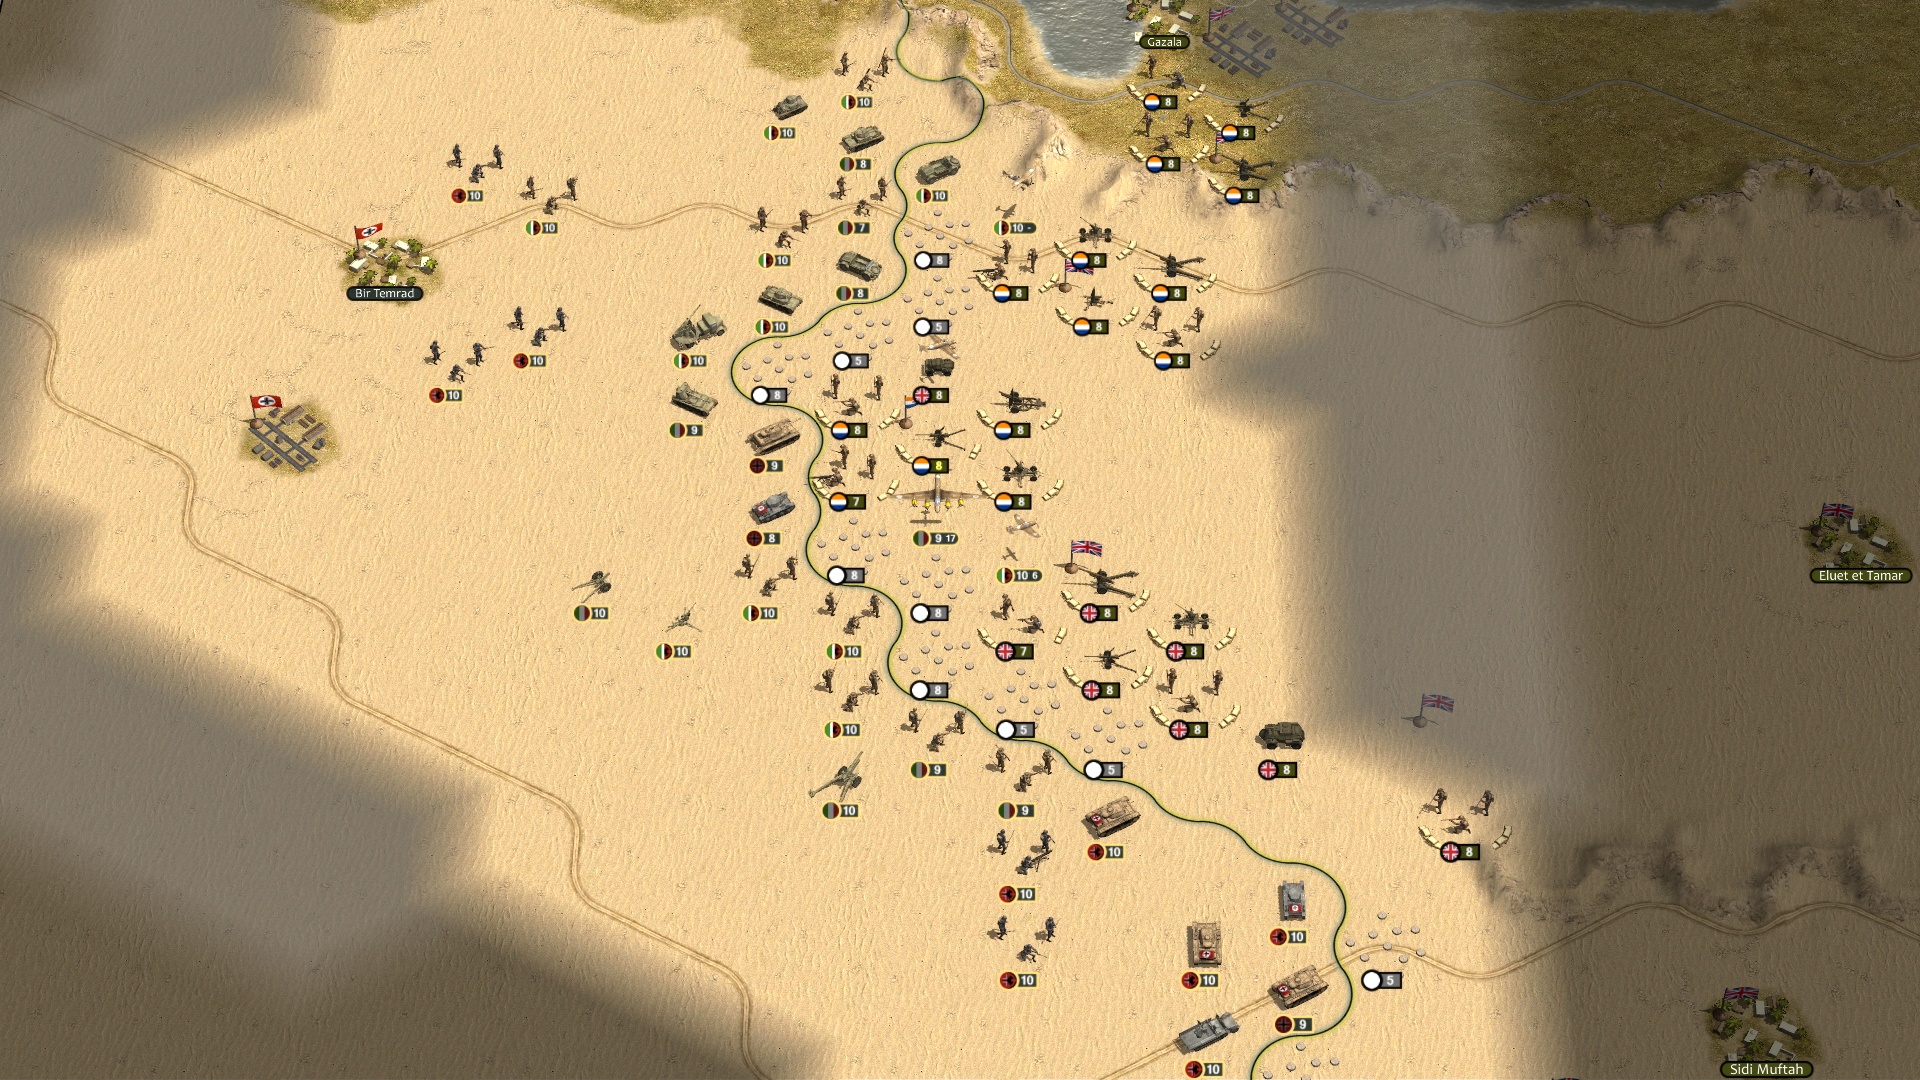
Gazala
Historical setting:
After the see-saw battles of late 1941 and early 1942, the frontline had stabilized at the so-called Gazala Line. Both sides were preparing an attack on the other. Rommel was faster. The Northern sector was heavily defended and the Axis only staged a feint attack there while their main force swept across the desert and outflanked the line to the South.
Finding itself behind Allied static positions and minefields and confronted by armour on the other side, Rommel realized that he needed to shorten his supply routes before proceeding further. This sequence of events is known as the Cauldron battles where the main Axis force resisted British armour with an anti-tank screen while, at the same time, reducing the British 150th Brigade in their rear and clearing extensive minefields for their supply convoys to pass.
When the shortening of their supply route was complete, and British armour was destroyed, the Axis mobile columns hurried towards the Allied supply bases. The Base at Belhamed rail station was blown up whilst Tobruk surrendered! The Capture of fuel at Tobruk allowed the Axis forces to move forward.
Scenario description:
The Allied unit dispositions, including minefields, were made based on historical sources. Rommel’s greatest victory will ask nothing less of you. As long as you avoid heavy defenses on the north momentum can be maintained. The Southern part of the map, as well as the rear, provides more approaches.
The Secondary objectives are lined up in a way to facilitate your path to victory and maintain focus, as well as being historically inspired. Transporting cargo trucks will give you actual supply output to help fight against dwindling supply over time.
Also, besides controlling territory you are tasked to destroy the British Army. But do not worry, if they are cut from their rear this will cause units to abandon heavily dug in positions and make them easier to destroy. Who knows, if you get lucky maybe the Tobruk garrison will surrender to you, Herr General!
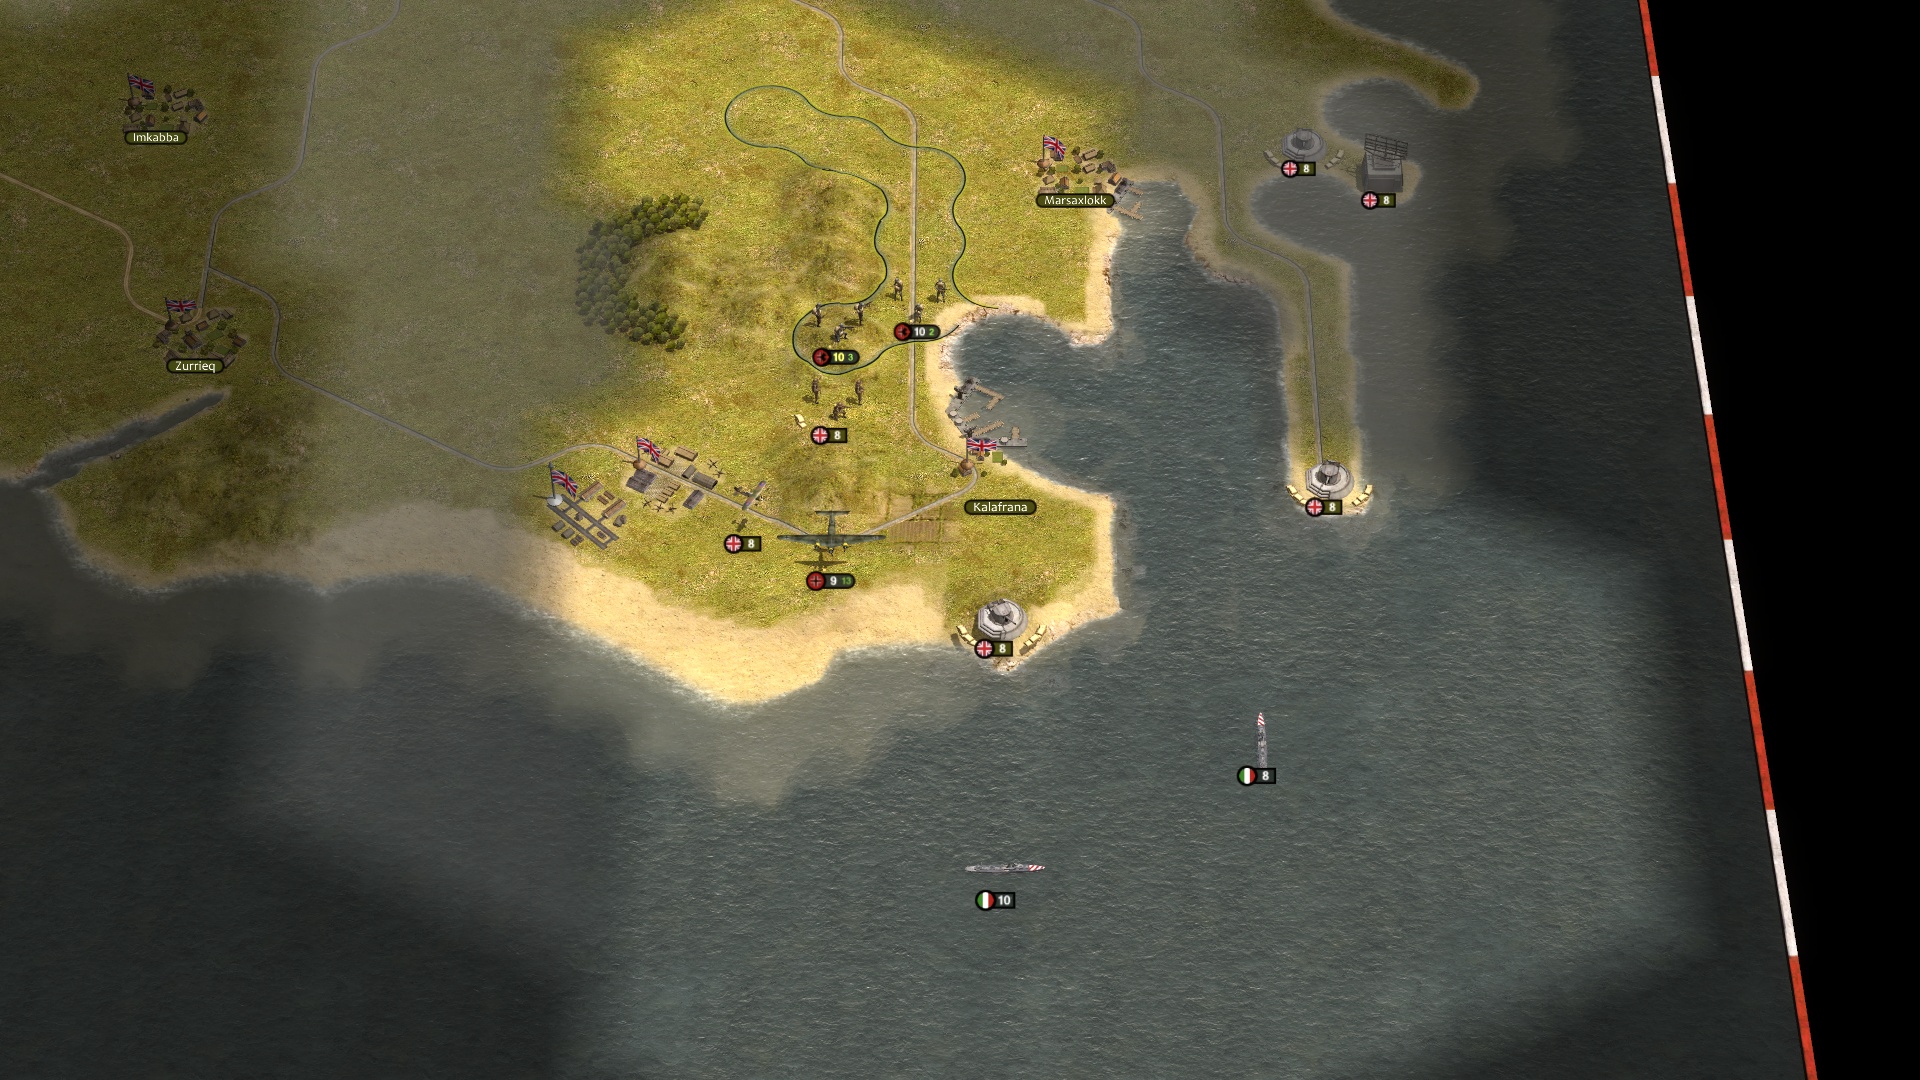
Herkules
Historical setting:
This is actually a semi-historical setting because Operation Herkules, the Axis invasion of Malta, was planned and could have happened, but didn’t. The Germans had reservations about it due to heavy losses of Fallschirmjäger on Crete and because a seaborne operation would depend upon the Italians. When Rommel captured stocks of fuel at Tobruk he was eager to continue with his offensive and Operation Herkules was called off.
Scenario description:
This Scenario features airborne and seaborne amphibious landings followed by land combat, while the Regia Marina holds the Royal Navy at bay and on top of this there is a need to control the skies.
But, before the scenario escalates into full scale battle involving all military branches, its elements are introduced gradually and in subsequent phases.
The first phase is the airborne invasion with the task of establishing an operational airfield. The player can select the difficulty of this task. They can aim for more airfields at the same time at the expense of a dispersed and more vulnerable force or they can concentrate on fewer objectives but with stronger force concentration. Higher the risk, higher the reward!
The Second phase includes seaborne landings but, in order for it to start, certain coastal batteries need to be neutralized first. There are several landing places to choose from and it is wise to destroy the coastal batteries covering those approaches.
In the third phase of attack you are to proceed to your objectives whilst at the same time protecting the supply routes of the land forces on the island. The Royal Navy will be alerted by this time and only thing between them and your invasion force is the Regia Marina.
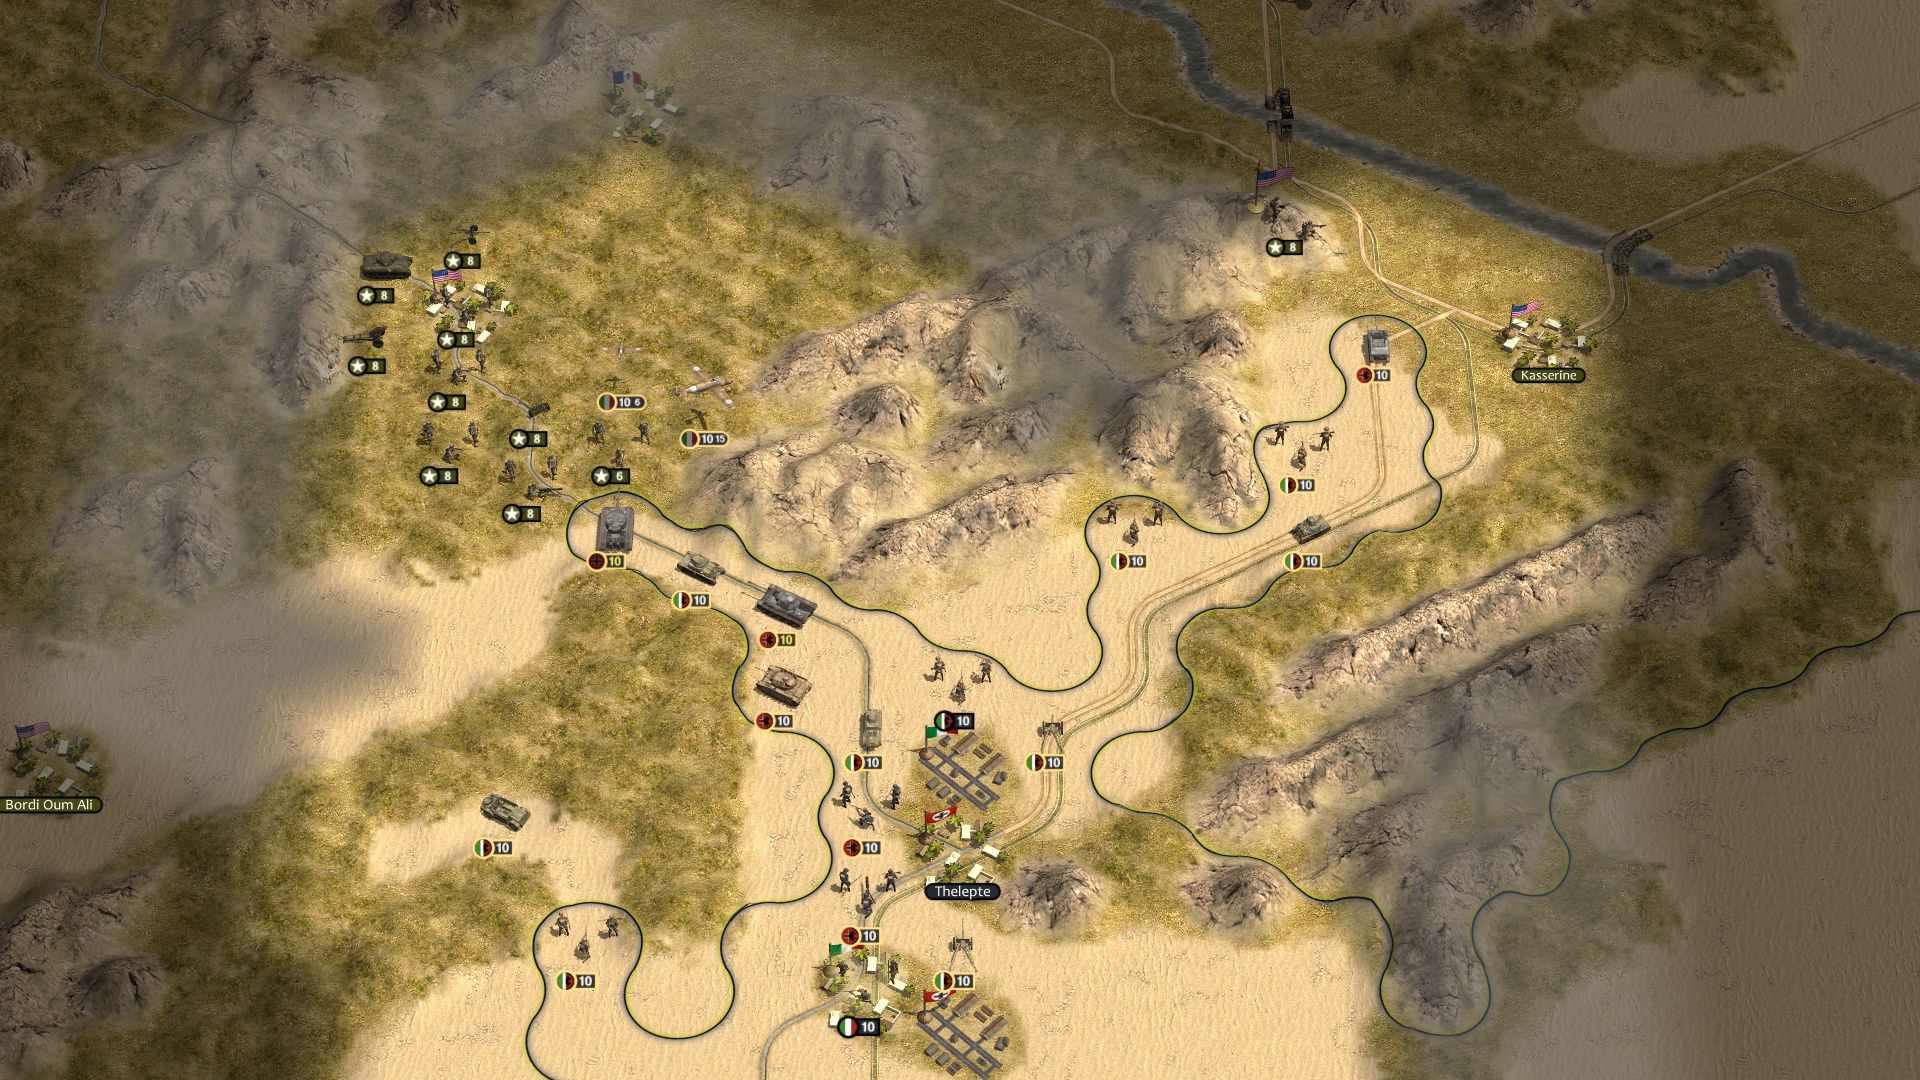
Kasserine Pass
Historical setting:
Tunisia is characterized by mountainous terrain and while those mountains had several passes those that had road and railroad networks were more important than the others.
Kasserine was one such important pass with two rail-lines from the Tunisian coast meeting there before proceeding inland and further, to the Algerian coast.
If the Axis were to destroy the Allied forces in Tunisia, then they needed to get through the Kasserine Pass then break out toward Algerian coast and encircle the Allied armies, leaving them with no major port to resupply.
Logistics and Axis strength at the time was what made such plans impracticable.
Higher levels of command had disagreements about the scope and purpose of forthcoming Axis offensives. Various plans were laid down. A less ambitious one called for the capture of Thala and Sbiba as prerequisites for an attack on Le Kef to disrupt the Allied flank and gain time. A more ambitious plan called for capture of Tebessa as a prerequisite for an attack on Bone at Algerian coast.
In such unclear conditions Rommel tried too much with too little probing along all lines and eventually retreated.
Scenario description:
The objectives in this scenario depict this strategic dilemma.
The Victory objectives are contradictory to one another, meaning you can achieve only one and never both.
Whatever choice you make, it will make a difference in the subsequent scenarios. Will you wait for an Allied attack on the Tunisian bridgehead or bring battle to the enemy? Great ambitions always bring great challenges. Do you have what it takes to become ...Sun Hero?